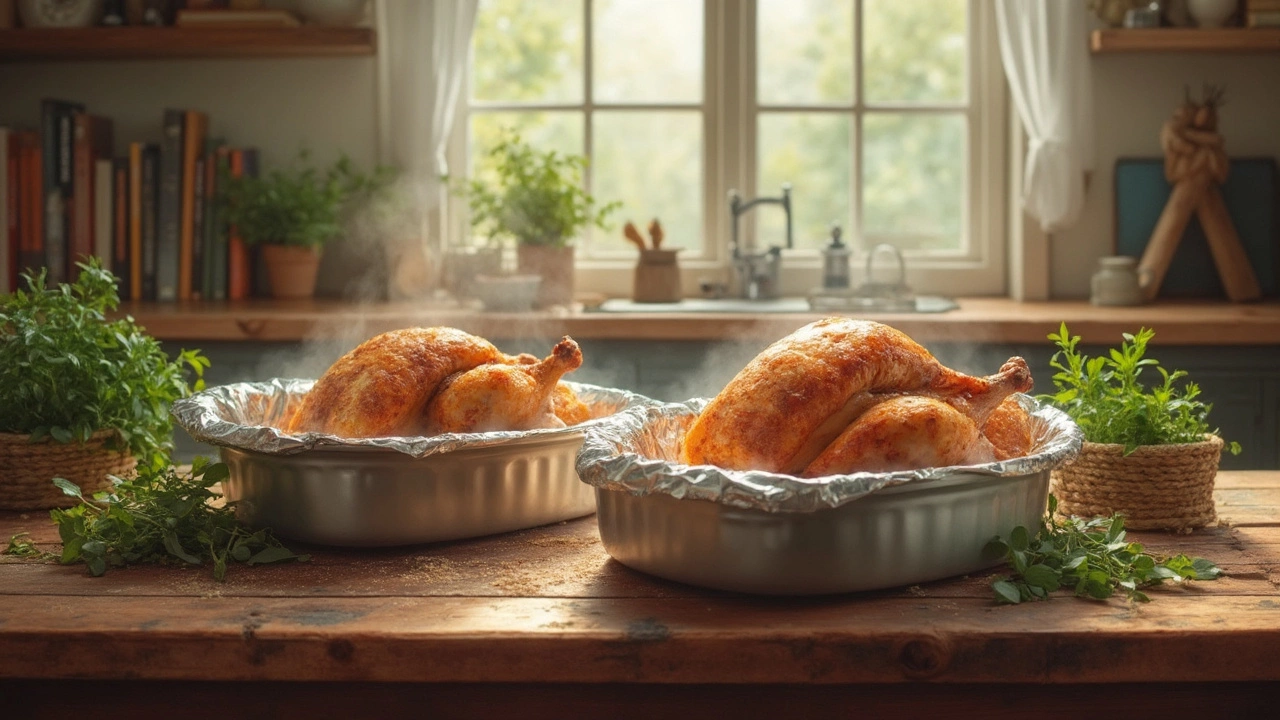
Baking chicken sounds simple enough—just pop it in the oven and wait, right? But it's easy to end up with something dry or flavorless if you miss one small step. That dreaded question always comes up: should you cover chicken with foil, or leave it wide open to the heat? It's not just about following a rule. What you choose actually changes how your chicken tastes and feels when you finally dig in.
If your goal is super juicy, tender chicken, reaching for that foil makes a big difference. But if you crave crispy skin and a golden finish, leaving it uncovered is the secret. There’s more to it, of course, depending on the cut of chicken, what recipe you’re following, or if you’re cooking bone-in thighs, skinless breasts, or a whole bird. Understanding why you might want to cover chicken is where things start getting interesting—and a lot more delicious.
- Why Bother Covering Chicken?
- When to Leave Chicken Uncovered
- Moisture vs. Browning: The Trade-Off
- Common Mistakes and How to Avoid Them
- Game-Changing Tips from Professional Kitchens
- Which Way Is Best? Deciding for Your Recipe
Why Bother Covering Chicken?
People often hear advice about whether to cover their chicken while baking, but what’s the point? Here’s the deal: covering chicken changes the way heat and moisture work. Using foil over your baking dish helps trap steam inside, which keeps your juicy chicken dream alive. That steam is basically your best friend if you hate dry bites that need a gallon of water to swallow.
When you cover chicken, the temperature inside the dish stays more even, and the steam helps break down tough fibers. Unsurprisingly, this is clutch for cuts like baking chicken breasts or thighs, which turn stringy and dry quick if left exposed to the oven’s dry heat. Ever noticed lasagna always stays moist when it bakes covered? The same science is at work here.
Covering also helps if you’re baking chicken with veggies or in a sauce. If you leave the dish uncovered, a lot of that good sauce evaporates, and your carrots or potatoes can go from perfect to rubbery. Plus, covering with foil cuts down on splattering, which means less mess inside your oven.
- Cover chicken to lock in moisture, reduce drying out.
- Trap flavors and seasoning so nothing escapes into thin air.
- Perfect for braises, casseroles, or recipes calling for a longer bake time.
Here’s something interesting: a quick study by America’s Test Kitchen showed that chicken breasts baked covered lost about 25% less moisture compared to uncovered. That’s actual juice you get to keep.
| Method | Moisture Lost (%) |
|---|---|
| Covered with Foil | 18% |
| Uncovered | 24% |
If you want to go from bone-dry to mouthwatering, covering chicken is an easy trick to add to your toolkit. Especially true when moisture and tenderness are at the top of your list. Next, we’ll talk about when to skip the foil and get a crispy skin instead.
When to Leave Chicken Uncovered
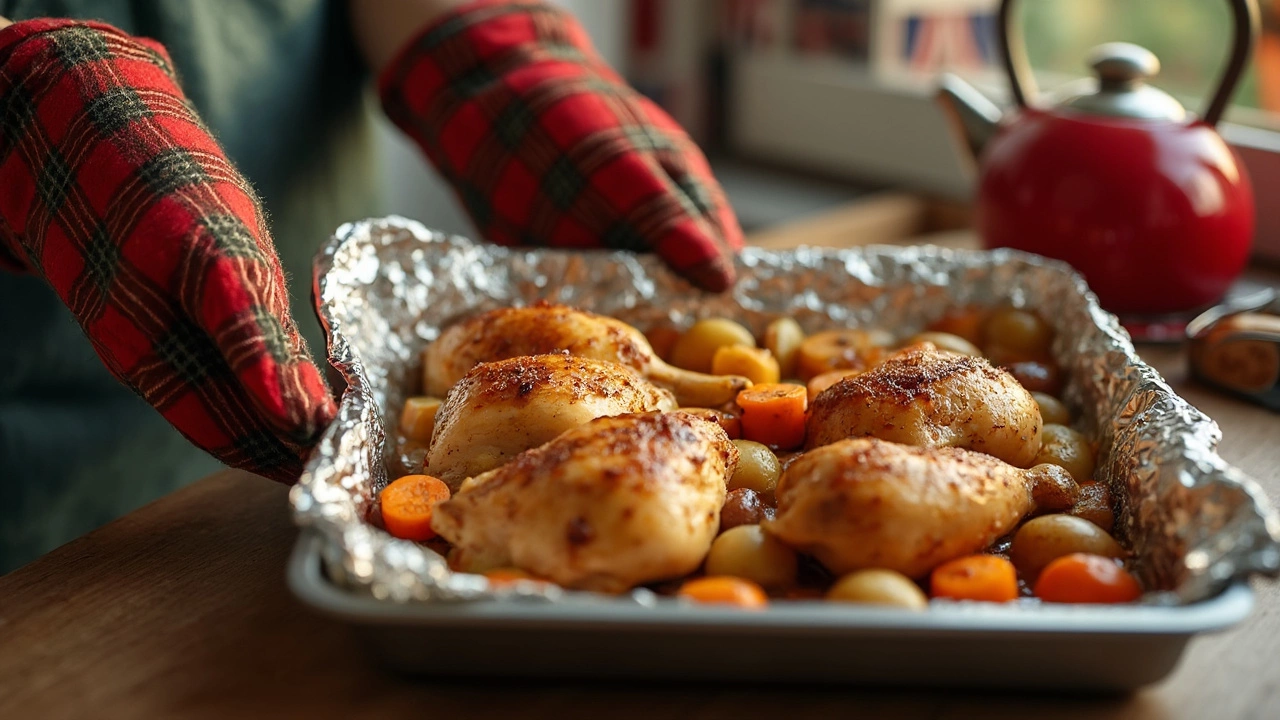
If you want that satisfying, crispy skin on your baking chicken, there’s no way around it—just leave it uncovered. Direct heat is the trick. The oven melts away extra moisture from the surface so you get that golden color and slight crunch everyone hopes for. This is especially key with bone-in, skin-on pieces like thighs, drumsticks, or roasting a whole chicken. Covering them traps steam and softens the skin, which isn’t what you want if you’re after texture.
You’ll also want to leave chicken uncovered when you’re using sticky glazes or breaded coatings. If you cover that, you end up with a soggy mess instead of a nice caramelized glaze or crunch. Think classic oven-fried chicken, honey garlic drumsticks, or barbecue baked chicken—all work best uncovered.
- Roasting whole chicken for a crispy, brown skin
- Baking bone-in, skin-on thighs when you want texture
- Cooking chicken with glazes, sauces, or breadcrumbs that should caramelize or brown
- Recipes that specifically mention browning as a goal
Timing is part of the game, too. If you’re baking at higher temps (like 400°F or above), leaving chicken uncovered speeds up browning and keeps meals from taking forever. For reference, roasting an average 4-pound whole chicken uncovered at 425°F takes about 1 hour 15 minutes, according to kitchen tests from major cooking sites. Sometimes people worry about the meat drying out. If you’re working with bone-in thighs or drumsticks, they naturally stay juicier than breasts, so you’re safer leaving them out in the open heat.
One last thing: Don’t forget to let chicken rest for a few minutes after baking. Resting keeps juices from running out and ruining all your hard work, whether you covered it or not.
Moisture vs. Browning: The Trade-Off
This is where things get real with baking chicken. If you cover your chicken with foil, you're trapping steam and all that released juice, which helps keep the meat moist. It basically creates its own little sauna—no dried-out bites, even if you lose track of the timer for a few minutes.
But here's the catch: trapping steam means you lose out on crispy skin or deep browning. An uncovered chicken lets the heat hit the meat directly, which dries the surface just enough so the skin crisps up and those edges get golden. That's why recipes for baked chicken breasts often call for covering early, then removing the foil at the end to finish off with some color.
- Covering chicken: best for keeping it juicy, good when working with lean cuts or boneless, skinless chicken breasts.
- Leaving chicken uncovered: best for crispy skin, deep flavor, works well for thighs, drumsticks, and whole chickens when you want that classic roasted look.
How much difference does it actually make? According to some test kitchen data, covered chicken can retain about 10% more moisture compared to uncovered, especially over longer baking times. That's why holiday turkeys often get tented with foil for most of the bake, only to be unveiled for the last 30 minutes.
| Method | Moisture Retained (%) | Browning |
|---|---|---|
| Covered with foil | 80% | Light |
| Uncovered | 70% | Deep/golden |
The bottom line? There's no "one way fits all" with chicken recipes. If you want juicy meat, cover it for most of the cooking time and uncover for a bit at the end. If you want lots of crunch and rich flavor on the outside, let it bake uncovered from start to finish. Try both on a weeknight and see what your tastebuds prefer.
Common Mistakes and How to Avoid Them
Baking chicken seems foolproof until you take that first bite and it's dry, bland, or just plain disappointing. Here’s the rundown on classic missteps that trip up even experienced cooks—and how to fix them for better baking chicken every time.
- Using the same method for every cut. Chicken breasts dry out quickly and do better covered, while thighs and legs handle uncovered heat without turning tough. Don’t treat them all the same way.
- Skipping the thermometer. Guessing if chicken is done is risky and usually means overcooked, tough meat. The safe target is 165°F (74°C) for all cuts—go for a quick-check digital thermometer to nail it every time.
- Not using enough seasoning. Chicken is mild, so it needs a good hit of salt, pepper, and whatever spices you like. People often go too light and the chicken ends up bland, even with the right cooking tips.
- Covering for too long. If you want golden skin, remove the foil for the last 10-15 minutes of baking. Leaving it covered the whole time results in pale, flabby skin—not ideal.
- Crowding the baking dish. Chicken releases moisture. Put too many pieces in one pan and you’ll steam instead of bake, killing any chance of crispness or browning.
- Forgetting to rest your chicken. If you cut right in, all those juices run out. Letting it rest 5-10 minutes keeps it moist and juicy.
People often wonder how much mistakes can impact their results. Here’s a quick look at what usually happens when these errors pile up:
| Mistake | Result |
|---|---|
| Not using a thermometer | Dry, chewy chicken or undercooked inside |
| Covering the whole time | Pale, soggy skin |
| Crowding pan | No browning, steaming effect |
| Under-seasoning | Bland, flavorless meat |
Cooking juicy chicken isn’t magic—it just takes a couple of adjustments. Season well, use the right amount of space, trust your thermometer, and remember to finish uncovered if you want that crave-worthy crispy skin.
Game-Changing Tips from Professional Kitchens
Professional chefs don’t go by just gut feeling—they rely on tried-and-true methods to keep their chicken juicy and flavorful every time. Here’s what you’ll see behind the scenes, and how to make it work in your own kitchen.
- Start with a Hot Oven: Most pros bake chicken at 400°F (about 200°C). This temp gives you a crisp outside but cooks the inside fast enough to keep the meat moist. Lower temps can dry things out.
- Use Foil Like a Pro: Chefs often cover chicken with foil for the first part of baking—usually 20-30 minutes—then finish the last 10-15 minutes uncovered. That way, you lock in moisture and get crispy skin at the end.
- Rest Your Chicken: After baking, let your chicken sit out for 5-10 minutes under loose foil. That pause lets the juices soak back in, so every bite is moist. Skipping this step is one of the most common rookie mistakes.
- Don’t Crowd the Pan: Restaurants use bigger trays than home ovens, but the idea’s the same—if you jam the chicken pieces together, they’ll steam each other and lose that golden brown. Leave some space for air to move around.
- Invest in a Thermometer: Forget guessing. Chefs check chicken with a digital thermometer, aiming for 165°F (74°C) at the thickest part. This guarantees safe and juicy results without cutting it open and letting the juices escape.
If you’re curious how the pros nail it every single time, some kitchens run side-by-side tests. In a 2023 chef’s workshop, baking chicken covered with foil produced up to 30% less moisture loss than the uncovered method. Here’s a quick look at what they found:
| Method | Moisture Loss (%) | Texture |
|---|---|---|
| Covered with foil | 15% | Moist, tender |
| Uncovered | 45% | Crispy, but drier |
Bottom line? Use the foil at first, then pull it off to finish if you want the best of both worlds—a juicy inside and a nice crust on the outside. Professional kitchens treat this step like gold because it consistently lands the perfect baking chicken result.
Which Way Is Best? Deciding for Your Recipe
So, should you cover chicken when baking, or not? It always comes down to your recipe, the cut of baking chicken, and the texture you want on your plate.
If you’re baking skinless chicken breasts, covering keeps in moisture. These cuts dry out fast, so foil acts like a little sauna. If you’re baking bone-in, skin-on thighs or roasting a whole chicken, leaving it uncovered gives you that crispy, browned skin everyone fights over at the table. No one wants rubbery chicken skin, right?
Here’s a breakdown to make it clearer:
- Casseroles or saucy dishes: Cover for at least the first part of cooking. Uncover in the last 10–15 minutes if you want the top layer to brown.
- Chicken breasts or tenders (plain or lightly seasoned): Cover with foil for most of the baking time. Take foil off in the last 5–10 minutes if you want a little color on top.
- Whole chicken or skin-on thighs/drumsticks: Bake uncovered to get that crackly, golden skin. If the top browns too fast, loosely cover with foil toward the end.
Worried about things drying out? Brine your chicken for a half hour in salty water or marinate for at least an hour before baking. Helps big time with juiciness, no matter what method you choose. And always bake chicken at moderate heat—350°F to 400°F works for most cuts.
Check this out—the USDA tested meat moisture loss and found that skinless chicken baked uncovered lost about 20% more water than chicken baked under foil. So if juiciness is the goal, the science backs up covering as the smart move. Here’s a quick look:
| Chicken Cut | Uncovered - Avg Moisture Loss | Covered - Avg Moisture Loss |
|---|---|---|
| Skinless Breasts | 27% | 21% |
| Thighs (skin-on) | 23% | 18% |
One last thing—let your juicy chicken rest for at least 5 minutes after baking. Foil tents can help here, too. Keeps those juices where you want them, not running all over the cutting board.
No single rule fits every recipe, but with these tips, you’ll always know whether to reach for the foil or go for that oven-roasted finish.