Ever wondered what a dash of baking soda can do for your chicken? Well, get ready for a culinary revelation! Baking soda isn’t just for cakes and cookies—it's a secret weapon for turning your chicken dishes into tender, mouth-watering meals.
Understanding how long baking soda should sit on chicken has a huge impact on your final dish. Too little time, and its magic barely kicks in; too much, and you risk a weird aftertaste. Generally, letting the baking soda sit for 15 minutes is a good start if you're aiming for tender chicken without an overpowering flavor.
But fret not, this isn’t just a guessing game. The science behind it is fascinating—when baking soda comes into contact with the meat, it raises the pH level, making it tougher for proteins to tighten up while cooking. Fascinating, right? Plus, it helps lock in juiciness while adding a crisp to the skin when done right.
- Why Use Baking Soda on Chicken?
- How Long is Long Enough?
- Tips for Perfect Textures
- Common Mistakes to Avoid
Why Use Baking Soda on Chicken?
Baking soda can do wonders for your chicken dishes, and it’s pretty simple to understand why. When you sprinkle this humble ingredient on your chicken, you’re not just playing kitchen chemist for fun. No, it serves a real purpose, thanks to its unique properties.
You see, baking soda, or sodium bicarbonate, is an alkaline substance. When it hits meat, it alters the pH balance, which helps to break down the proteins. This leads to a more relaxed muscle structure, making the chicken meat noticeably more tender. So, if you've ever bitten into your chicken and thought it was a bit chewy, try adding a little baking soda next time.
How Does it Affect Taste and Texture?
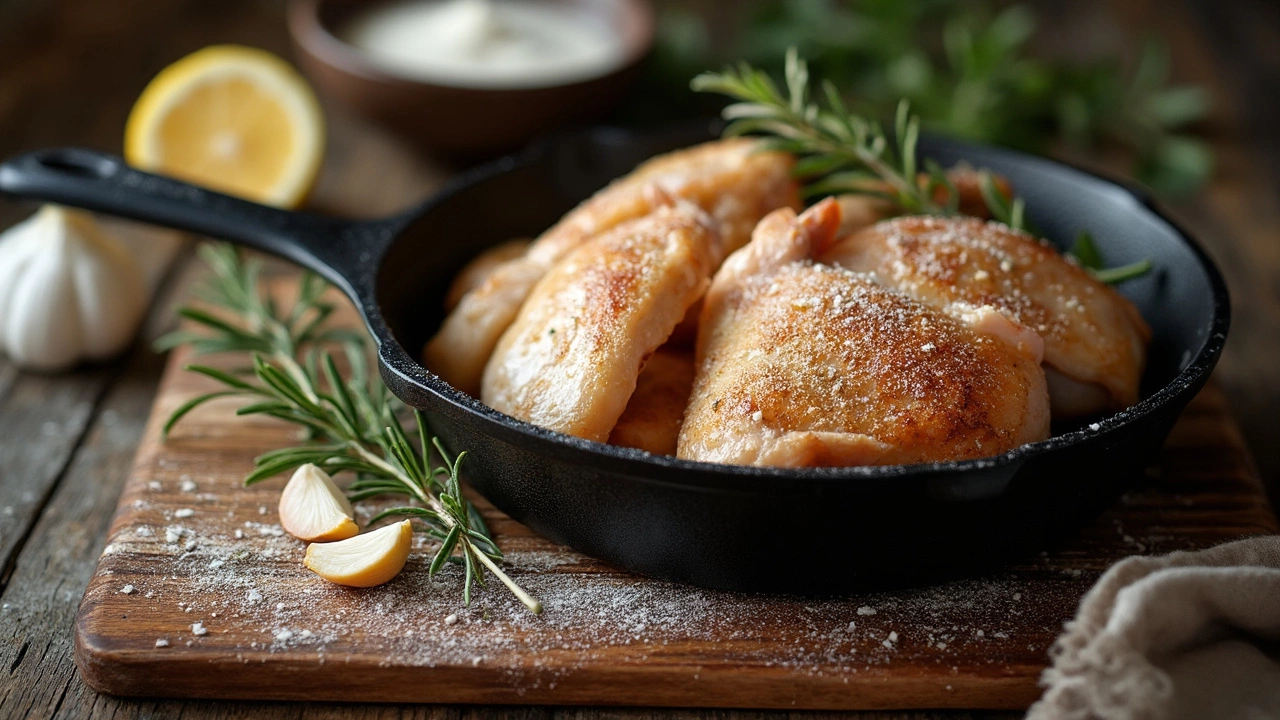
Beyond just tenderness, baking soda adds a subtle flavor enhancement as well. But don’t worry, if used correctly, it won't overpower your dish. Plus, for those aiming for that perfectly crisp skin, baking soda aids in browning due to its alkaline nature, meaning your roast or baked chicken will come out with a delightful, crunchy exterior.
More Than Just Tenderness
There’s an extra charm to using baking soda in your kitchen—it’s time efficient! Just 15 minutes sitting time can have a noticeable effect. Imagine hosting a dinner where, even with last-minute prepping, your chicken still turns out tender and delicious.
- Baking soda tenderizes chicken by breaking down protein structures.
- Ideal for enhancing flavors and textures without drastically changing taste.
- Can result in crispier skin when cooked, thanks to increased browning.
- Time efficient: results seen in around 15 to 30 minutes.
So next time you’re prepping a chicken recipe, give baking soda a sprinkle and see the tasty results for yourself!
How Long is Long Enough?
Alright, let’s dig a bit deeper into how long you should let the baking soda sit on your chicken. Trust me, timing can make or break your dish. The magic number depends on the result you're aiming for and the cut of chicken you’re working with.
For those juicy chicken breasts, leaving the baking soda on for about 15 minutes is a sweet spot. It gives the baking soda just enough time to start breaking down proteins, ensuring your meat stays tender during cooking. No more dry, chewy bites!
- Skin-on chicken: Allow around 30 minutes if you're after that crispy skin texture without overly soft meat beneath.
- Dark meat like thighs: They're a bit more forgiving, but sticking to around 15-30 minutes will still boost tenderness while keeping flavors intact.
Now, if you’re prepping for a marathon grill session and want your BBQ chicken to be the talk of the town, consider leaving the baking soda for slightly longer. An hour should be your max, though. Anything beyond that can invite an unwanted metallic taste, and nobody wants that at their picnic!
Why Not Overnight?
Here's a thing: although marinating overnight is common, and tempting with such a simple ingredient as baking soda, it’s risky. Leave it too long, and you could end up with a mushy texture along with some funky flavors because the baking soda will have started to change the composition of the meat too much. So, staying within the suggested timeframes keeps your chicken at its delicious best.
But what if you're really short on time? Well, any amount of time with baking soda is better than none. Even a quick rub-down while you prep the rest of your dinner will give a little of that tender magic to your meal.
Tips for Perfect Textures
Now, let's talk about dialing in those textures that make people gush over your chicken. Whether you're looking for a crispy exterior or the most tender meat, handling your chicken with baking soda requires some finesse.
Go Easy on the Baking Soda
The key here is balance. You want to sprinkle just enough baking soda to coat without drenching it in powder. Going overboard can leave a soapy flavor. A common rule of thumb is a quarter teaspoon per pound of chicken—simple, but oh so effective.
Marination Time
Timing is everything. Once your chicken is dusted and ready, let it sit. For most chicken pieces, about 15 to 30 minutes is sufficient to tenderize without altering the flavor or texture too drastically. Got only a few minutes? Opt for smaller pieces, as they require less time to absorb the magic.
Rinse Before Cooking
This step can make or break your dish. Before you cook, rinse the chicken thoroughly under cold water to wash off any excess baking soda. This avoids that unpleasant residue and sets the stage for perfect seasoning.
Best Cooking Methods
Once rinsed, pat your chicken dry and decide on your cooking method. Whether grilling, frying, or baking, make sure to preheat your surface. Consistent, even heat is crucial for achieving a crispy outcome while maintaining a juicy interior.
Common Pairings
- Spices: Garlic, paprika, and cayenne are your best friends for flavor.
- Marinades: Opt for yogurt or buttermilk, which work well with what the baking soda has already done.
- Sides: Roasted veggies or a batch of mashed potatoes complement well-cooked chicken.
By keeping these tips in mind, you’ll elevate your chicken recipes from good to great in no time!
Common Mistakes to Avoid
Even though using baking soda on chicken sounds simple, it's one of those tricks where little hiccups can change everything. Let’s go over some common mistakes that folks make.
Too Much Baking Soda
It might be tempting to think that more baking soda means more tenderness. But trust me, too much of this secret ingredient can lead to a soapy taste. The sweet spot? Usually, a half teaspoon of baking soda per pound of chicken does the trick. It’s just enough to tenderize without overwhelming the flavors.
Leaving It On Too Long
You might think letting it sit longer makes your chicken even more tender. But if baking soda stays on too long, it can make your meat mushy. The typical time frame is around 15 to 30 minutes. After that, make sure to rinse thoroughly before cooking.
Skipping the Rinse
Don’t forget to rinse off baking soda before you cook. Skipping this step can make the skin taste salty and bitter. Rinsing helps get rid of any lingering baking soda and keeps your chicken tasting just right.
Not Patting Dry
After rinsing, it’s crucial to pat your chicken dry. Leaving it wet can mess with that beautiful crispy finish. A quick dab with a paper towel can make a world of difference in texture.
Pairing with Acidic Ingredients
Baking soda doesn't play well with acidic ingredients like vinegar or lemon juice—they’ll neutralize each other. So, avoid mixing them while your chicken sits in the baking soda bath. Feel free, though, to add your acids afterward for that extra zing!
Keep these simple tips in mind, and you'll be on your way to chicken perfection every time.