Chicken Roasting Method Selector
Select your chicken cut and priority to get the recommended cooking strategy.
Pro Tips for This Method:
You pull the tray out of the oven, and there it is: pale, soggy skin that looks more like boiled rubber than a delicious meal. Or maybe you went the other way-crispy on the outside but dry as a desert inside. This is the eternal struggle of roasting chicken. Should you bake chicken covered or uncovered? The answer isn't just "yes" or "no." It depends entirely on what you want to achieve.
If you want juicy meat with zero effort, cover it. If you want that golden, crackling skin that makes people ask for seconds, leave it uncovered. But here’s the secret most recipes skip: you can do both. In this guide, we’ll break down exactly when to use foil, when to let it breathe, and how to get the best of both worlds without turning your kitchen into a science lab.
The Science Behind the Skin
To understand why covering matters, you have to look at what happens inside the oven. When you bake chicken, two things are competing for dominance: moisture retention and browning. These are opposites. You cannot maximize both simultaneously with a single static setting.
Covering chicken, typically with aluminum foil or a lid, creates a sealed environment. This traps steam released by the meat as it cooks. That steam acts like a humidifier, keeping the surface temperature lower and preventing the proteins from tightening up too quickly. The result? Meat that stays incredibly tender and retains its natural juices. However, that same trapped moisture prevents the Maillard reaction-the chemical process responsible for browning and crisping. Your skin stays soft because it’s essentially steaming in its own juices.
Leaving the chicken uncovered allows hot, dry air to circulate directly over the surface. This evaporates moisture from the skin rapidly. Once the skin dries out, the heat can push past 300°F (150°C), triggering the Maillard reaction. This creates those complex, savory flavors and that satisfying crunch. The trade-off is risk. Without a barrier, the outer layers cook faster than the inner layers, leading to the dreaded "dry breast" scenario if you aren't careful with timing and temperature.
When to Bake Chicken Covered
So, when should you reach for the foil? Covering is your best friend when your priority is pure tenderness and convenience. This method works exceptionally well for lean cuts like chicken breasts, which have very little fat to protect them from drying out.
- Boneless, Skinless Breasts: These dry out faster than any other cut. Covering them locks in moisture, ensuring they remain succulent even if you accidentally overcook them by a few minutes.
- Casserole-Style Dishes: If you’re baking chicken with rice, vegetables, or sauces, covering helps steam the vegetables and keeps the sauce from reducing too much.
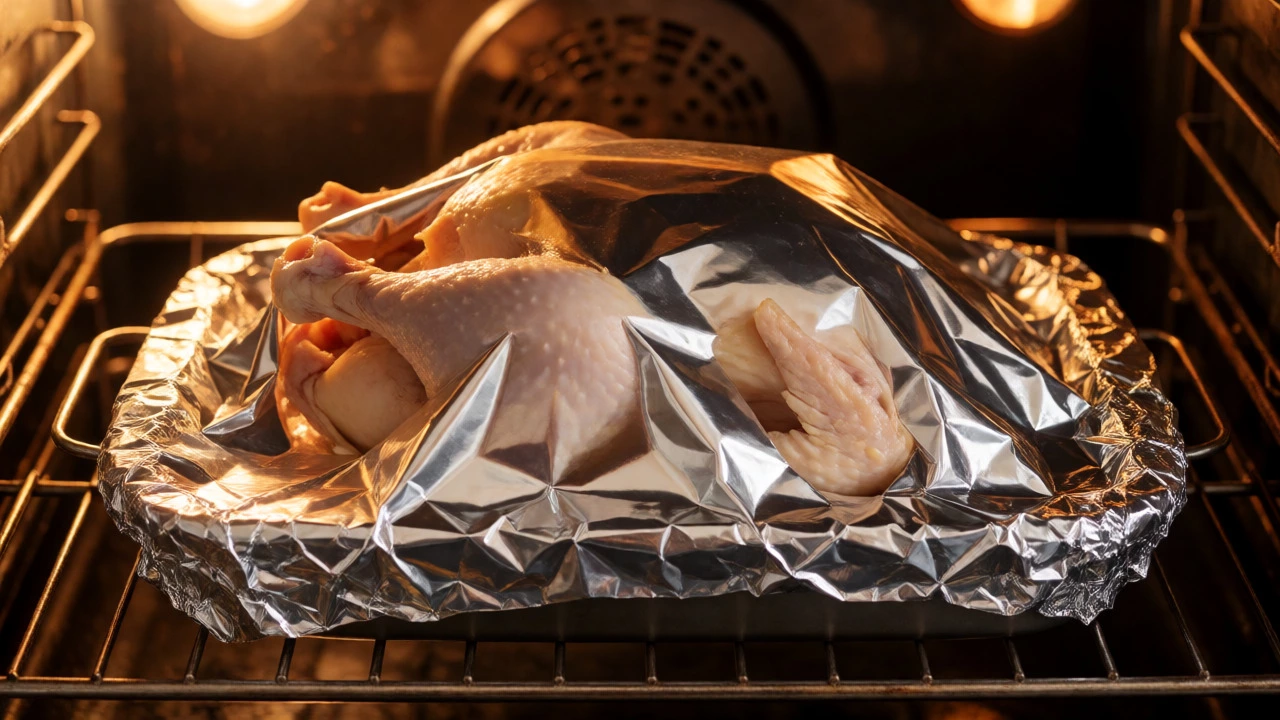
- Slow-Roasted Whole Birds: Some traditional methods involve wrapping the entire bird in foil (en papillote) to create a self-basting effect. This is great for holidays where you want foolproof juiciness over aesthetic perfection.
A pro tip here: don’t seal the foil tightly against the meat. Tent it loosely. If the foil touches the wet skin, it will stick and tear off the seasoning when you remove it. Leave an inch of air space between the metal and the chicken to allow some convection while still trapping humidity.
When to Bake Chicken Uncovered
If you’re chasing flavor and texture, go uncovered. This is non-negotiable for roast chickens where crispy skin is the star of the show. Think Sunday roast or Thanksgiving turkey-style preparations.
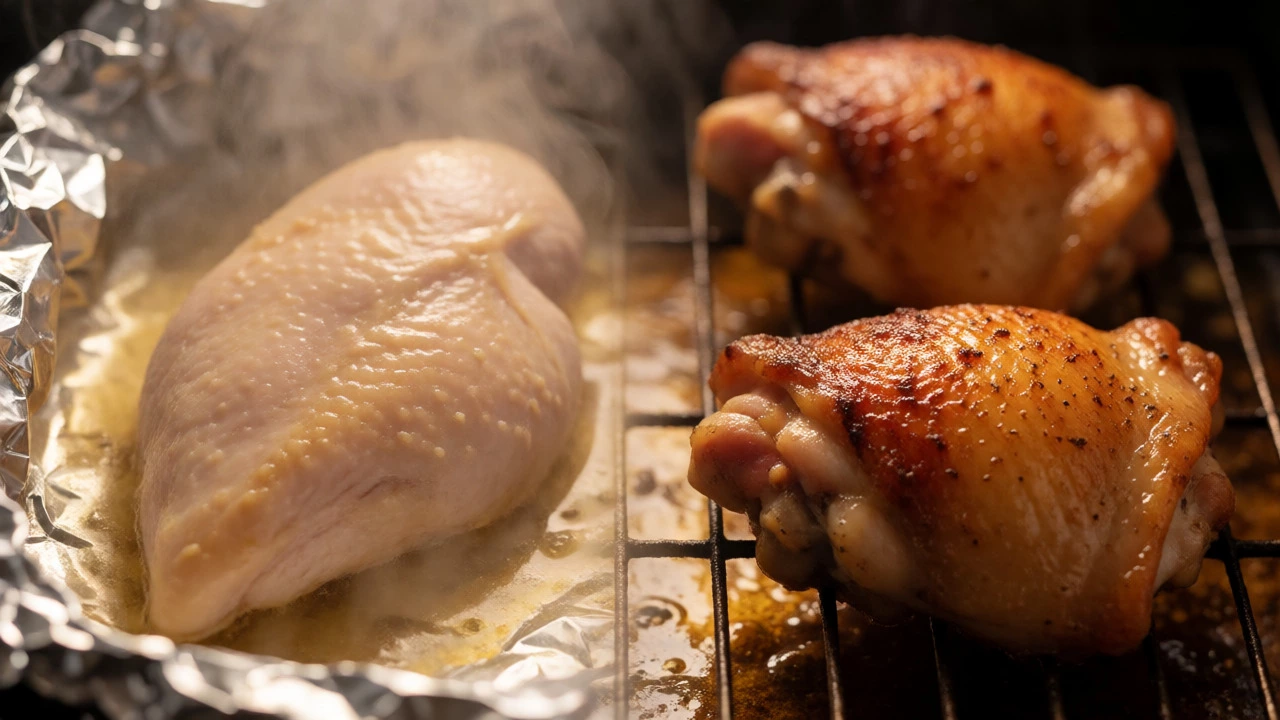
Uncovered baking also works wonders for thighs and drumsticks. These dark meat cuts have higher fat content and connective tissue that benefits from high, direct heat. The fat renders out, basting the meat from within, while the skin crisps up beautifully. If you cover thighs, you often end up with greasy, flabby skin that feels unpleasant to bite through.
Another scenario for uncovered baking is finishing dishes. Maybe you started a dish covered to keep it moist, but now it looks sad and pale. Switching to uncovered for the last 15-20 minutes rescues the appearance and adds texture without sacrificing all the internal moisture.
The Hybrid Method: Best of Both Worlds
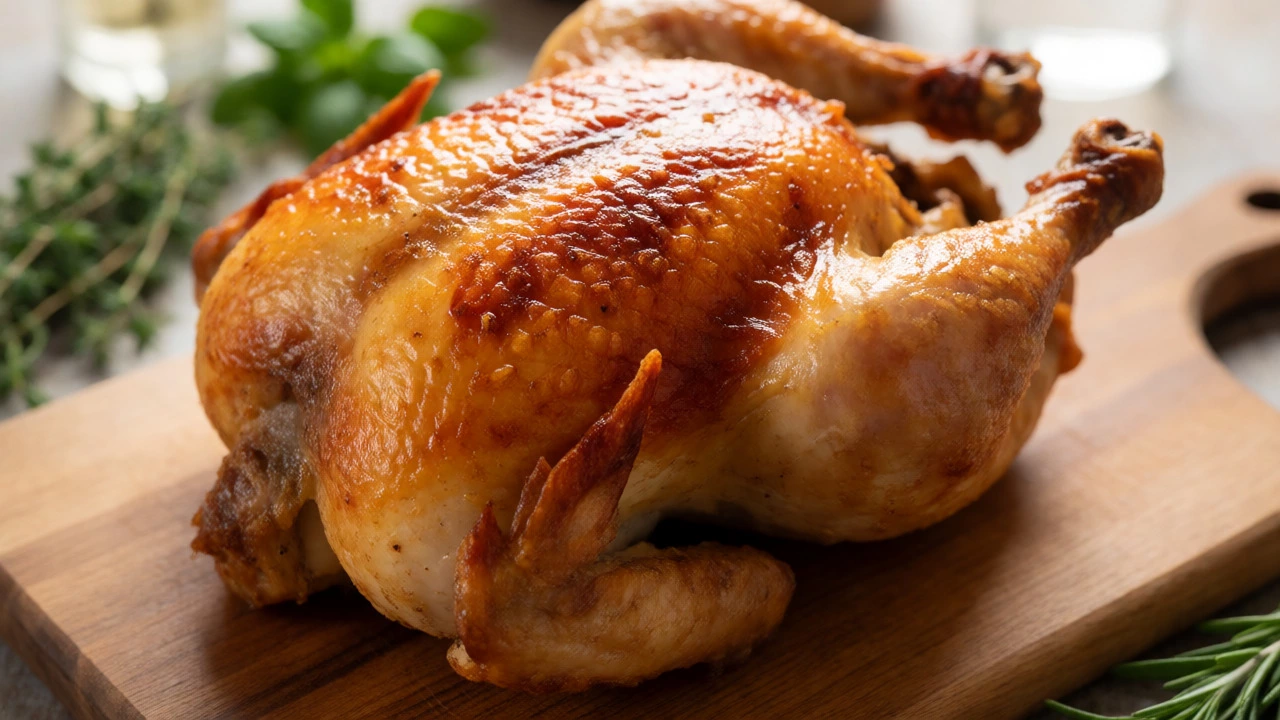
Here is where the pros separate themselves from the home cooks who settle for mediocrity. You don’t have to choose one method for the entire cooking time. The hybrid approach gives you juicy meat and crispy skin.
Start covered. Put your chicken in the oven covered with foil for the first 70-80% of the cooking time. This ensures the interior reaches the safe internal temperature of 165°F (74°C) gently, without the muscle fibers seizing up and squeezing out juice. Then, remove the foil for the final 20-25 minutes. Crank the heat up slightly (by about 25°F) to blast the remaining moisture off the skin.
This technique requires attention. You need to know your oven’s quirks. If your oven runs hot, you might only need 15 minutes uncovered. If it’s cool, give it 30. Use a meat thermometer to check doneness before removing the foil. If the meat is already at 160°F, you can skip the long covered phase and focus on crisping.
Comparison: Covered vs. Uncovered Outcomes
It’s hard to visualize the differences, so let’s break it down side-by-side. This table assumes you are baking bone-in chicken pieces at 375°F (190°C).
| Feature | Covered Baking | Uncovered Baking |
|---|---|---|
| Skin Texture | Soft, pale, potentially soggy | Crispy, golden brown, textured |
| Moisture Level | High; retains natural juices effectively | Moderate to Low; risk of drying out |
| Cooking Speed | Slower due to insulation | Faster due to direct heat exposure |
| Flavor Profile | Milder; flavors stay inside the meat | Richer; caramelization adds depth |
| Best For | Breasts, casseroles, beginners | Thighs, whole birds, experienced cooks |
Troubleshooting Common Mistakes
Even with the right method, things can go wrong. Here are the three most common pitfalls and how to fix them.
The Soggy Bottom Blues: If you bake chicken uncovered on a flat sheet pan, juices pool underneath, boiling the bottom of the meat. Always use a wire rack placed inside a baking sheet. This lifts the chicken, allowing air to circulate underneath and letting drippings fall away. No rack? Elevate the chicken on a bed of chopped onions or carrots.
The Burnt Exterior, Raw Interior: This happens when the oven is too hot for an uncovered bird. The skin browns before the center is cooked. Solution: Lower the temperature to 350°F (175°C) and extend the cooking time. Or, use the hybrid method mentioned earlier to shield the skin early on.
The Dry Breast Disaster: Overcooking is the main culprit, but lack of fat is the second. If you must bake uncovered breasts, brine them first. Soak them in saltwater for 30 minutes to an hour. This changes the protein structure, allowing the meat to hold onto water molecules during the intense heat of the oven.
Practical Tips for Perfect Roast Every Time
Before you preheat that oven, run through this checklist. Small details make a massive difference in the final plate.
- Dry the Skin: Whether covered or uncovered, pat the chicken dry with paper towels before seasoning. Moisture on the surface turns to steam immediately, hindering browning. Letting it sit uncovered in the fridge for an hour before cooking is even better-it dries out the skin significantly.
- Oil Generously: Fat conducts heat and aids browning. Rub olive oil, melted butter, or duck fat under and over the skin. Don’t be shy; excess oil drips off anyway.
- Rest the Meat: Never cut into chicken straight from the oven. Juices are agitated and distributed throughout the muscle fibers. Resting for 10-15 minutes lets them redistribute. If you skip this, the juice ends up on your cutting board, not in your mouth.
- Check Internal Temperature: Visual cues lie. A perfectly browned bird can be raw in the thickest part. Insert a digital thermometer into the thickest part of the thigh, avoiding the bone. Pull it at 160°F (71°C); carryover heat will bring it to 165°F (74°C) while resting.
Final Verdict: Which Method Wins?
There is no single winner because different cuts demand different treatments. For white meat like breasts, start covered or cook at a lower temperature uncovered to prevent dryness. For dark meat like thighs and wings, go uncovered to render fat and crisp skin. For a whole bird, the hybrid method-covered then uncovered-is the gold standard for balancing moisture and crunch.
Next time you prep your chicken, ask yourself: What am I optimizing for? Juiciness? Go covered. Flavor and texture? Go uncovered. Want both? Do both. Your dinner guests won’t care about the physics, but they will definitely notice the difference.
Does covering chicken make it cook faster?
No, covering usually slows down the cooking process slightly because it insulates the food and reduces the efficiency of heat transfer compared to direct radiant heat. However, it prevents the exterior from burning before the interior is done, which can sometimes lead to shorter total active monitoring time.
Can I use parchment paper instead of foil?
Yes, parchment paper is a great alternative for lining pans, but it does not trap steam as effectively as foil. If you want the covered effect, foil is superior. Parchment is excellent for easy cleanup and preventing sticking, especially for uncovered baking.
How do I keep chicken breast moist when baking uncovered?
Brining the chicken beforehand is the most effective method. Additionally, pounding the breasts to an even thickness ensures they cook uniformly, preventing thin edges from drying out while the center finishes. Cooking at a moderate temperature (375°F/190°C) rather than high heat also helps.
Is it safe to bake chicken in a glass dish?
Yes, but glass retains heat differently than metal. It heats slower but holds heat longer. Reduce your oven temperature by 25°F (approx 15°C) when using glass to prevent the bottom from burning before the top is done. Glass also doesn't conduct heat as efficiently, so browning may take longer.
What if my chicken skin isn't browning even though it's uncovered?
Your oven might be running cool, or the chicken was too wet when it went in. Try increasing the temperature by 25°F for the last 10 minutes. Also, ensure you used enough oil or fat on the skin, as fat is necessary for the Maillard reaction to occur efficiently.